Ever feel like your kitchen just doesn’t work the way it should? You’re not alone. A poor layout can turn everyday cooking into a juggling act—and that’s where good planning comes in. From maximizing storage to creating better flow between prep, cook, and clean zones, smart layout design makes life in the kitchen a whole lot easier.
Think L-shaped for open traffic, galley for tight spaces, or islands for multitasking. Each option offers something different, and the right choice can cut down on clutter, save remodeling headaches, and even boost your home’s value.
A little planning now means smoother mornings, simpler dinners, and a space that feels built just for you.
What Is Kitchen Layout Planning & Why It Matters
Kitchen layout planning is the intentional arrangement of appliances, storage, and work zones to create a space that functions smoothly and fits your lifestyle. It’s not just about where things go—it’s about how easily you can move, cook, clean, and gather.
Poor layouts lead to everyday friction:
- Cramped walkways and clashing cabinet doors
- Awkward appliance placement and wasted steps
- Constant bumping into family or guests
Even a beautiful kitchen can feel frustrating without the right flow. That’s why smart layout planning—using proven concepts like the work triangle—saves time, reduces stress, and makes your space easier to live in.
🛠️ Start with the layout. Everything else in your remodel depends on it.
📏 The Foundation: Essential Guidelines & Measurements
Before choosing colors or materials, it’s layout math that lays the groundwork. A well-planned kitchen depends on precise measurements that support how you actually use the space—from cooking to cleaning to simply walking through.
🔺 Work Triangle Rule
One of the most reliable design principles: the work triangle. It connects the sink, stove, and fridge to streamline movement between tasks.
- Ideal total distance: 13–23 feet (4–7 meters)
- Each leg: 4–9 feet
Too close and things feel cramped; too far and every meal feels like a hike.
↔️ Aisle & Walkway Widths
Space between countertops and islands matters more than you think:
- Walkways: at least 36″ wide
- Work aisles (where people cook): 42–48″ wide for one or two cooks
This keeps foot traffic flowing and prevents those tight-kitchen standoffs.
🧱 Landing Zones
Every major appliance needs a “drop zone” nearby—a spot for setting down groceries, hot pans, or washed dishes.
- Minimum: 12–15″ of countertop space next to the fridge, sink, and oven
More room here = less juggling and fewer spills.
🚪 Door & Appliance Clearance
Appliances shouldn’t fight for space.
- Allow enough clearance for fridge, dishwasher, oven, and pantry doors to open fully—plus space to move around them
- Avoid placing two swinging doors directly opposite each other
🛠️ Popular Kitchen Layout Styles & Best Uses
Each layout fits a different space and lifestyle. Here’s a quick guide to help you choose the right fit:
🔹 One-Wall
All-in-one line of appliances and storage
- ✅ Simple, affordable, great for small spaces
- ❌ Limited counter space and poor workflow
- 🏠 Ideal for studios or compact kitchens
🔹 Galley
Two parallel counters with a central aisle
- ✅ Efficient, minimizes movement
- ❌ Feels tight for more than one cook
- 🏠 Common in older Greensboro homes with narrow footprints
🔹 L-Shaped
Counters on two connected walls
- ✅ Open flow, easy to add an island
- ❌ Awkward corners can waste space
- 🏠 Suits open-plan layouts and busy households
🔹 U-Shaped
Three walls of cabinets/appliances
- ✅ Plenty of counter space, good separation
- ❌ Can feel boxed-in in smaller kitchens
- 🏠 Great for larger, enclosed rooms
🔹 G-Shaped / Peninsula
U-shaped with an added counter extension
- ✅ Adds prep space without needing full island
- ❌ Can feel tight if poorly spaced
- 🏠 Fits well in homes where wall removal isn’t an option
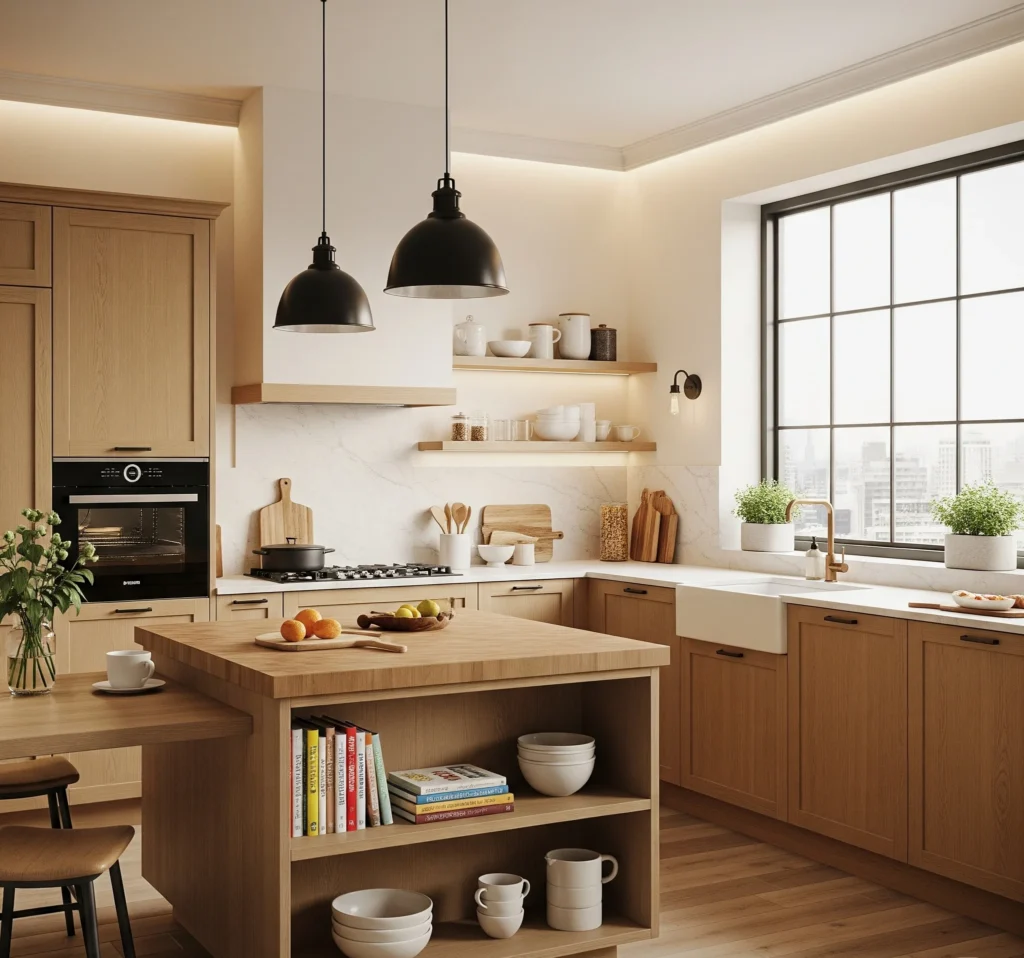
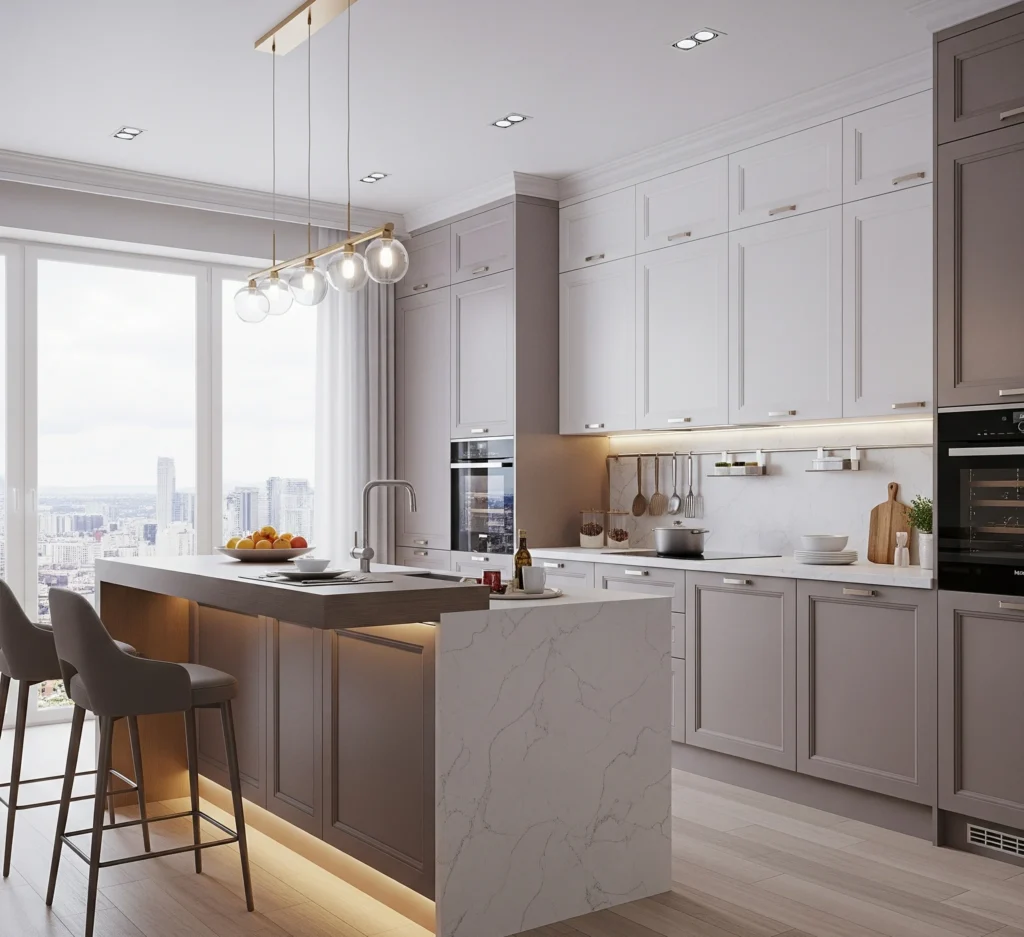
🔹 Island
Freestanding central counter
- ✅ Boosts storage, seating, and style
- ❌ Requires ample clearance all around
- 🏠 Best for open-concept or larger kitchens
📍Older homes in Greensboro often benefit from L-shaped or peninsula layouts, while newer remodels allow room for spacious islands.
🔄 Workflow & Zones: Beyond the Triangle
Modern kitchens go beyond the classic triangle by organizing around task zones for smoother, more efficient use—especially with multiple cooks.
🔧 Core Zones
- Prep: Near sink and fridge; includes knives, cutting boards
- Cooking: Stove, oven, and tools close at hand
- Cleaning: Sink, dishwasher, and waste bins grouped together
- Storage: Dry goods, cookware, and pantry items in reachable spots
🚶♂️ Circulation
- Keep 42″+ between zones
- Avoid placing the fridge or oven in main walkways
- Separate traffic flow from cooking tasks
👥 Multi-User Kitchens
- Use dual triangles or a second prep zone
- Add counter space that supports teamwork
- Place storage and tools for shared access
💡 A zone-based kitchen flows better, feels calmer, and works harder for busy households.
💡 Storage, Ergonomics & Comfort
A well-planned kitchen doesn’t just look good—it works with you. Smart storage and ergonomic design keep everything within easy reach and make daily tasks less of a strain.
🗄️ Smart Storage
- Pull-outs and deep drawers for pots, pans, and pantry items
- Pegboards and lazy Susans to use tight or corner spaces
- Maximize vertical storage with adjustable shelves
🧍 Ergonomic Design
- Counters at comfortable working height (typically 36″)
- Keep frequently used items between knee and shoulder height
- Reduce bending with wall ovens and raised dishwashers
♿ Accessibility
- ADA-compliant clearance: 30″ wide paths, 60″ turning space
- Lever handles, D-pulls, and easy-glide drawers
- Universal design suits all ages and mobility levels
💡 Comfortable kitchens are safer, more efficient, and a joy to use—every day, for everyone.
💡 Lighting, Materials & Tech Integration
Great kitchen design goes beyond layout—it’s about setting the right mood, choosing smart materials, and weaving in tech that makes life easier.
💡 Layered Lighting
- Task lighting over counters and sinks
- Ambient lighting for overall brightness
- Accent lights to highlight backsplashes or open shelves
🧱 Materials That Last
- Quartz or granite countertops for durability
- Low-maintenance finishes like matte tiles or sealed wood
- Water-resistant, stain-resistant surfaces for busy homes
🔌 Tech Integration
- Built-in USB outlets and hidden charging docks
- Smart appliances with Wi-Fi control and voice assist
- Touchless faucets and motion-sensing lights for convenience
🏡 Blending beauty, function, and innovation—your kitchen can do more than just cook.
🏡 Local Insights for Greensboro Homes
Planning a kitchen remodel in Greensboro? Local architecture and building codes bring their own twists—especially in older neighborhoods where charm and quirks go hand in hand.
🏚️ Challenges in Historic Homes
- Load-bearing walls make layout changes tricky
- Odd angles and tight spaces complicate cabinet or island placement
- Original plumbing and wiring may need updating
🧾 Permits & Codes
- City permits required for electrical, plumbing, and structural changes
- Timeline delays common due to inspections or historical preservation rules
- Code upgrades may be needed—think GFCI outlets or ventilation
📍 Greensboro-Specific Examples
- Fisher Park: Narrow kitchens with vintage charm, ideal for galley or L-shaped layouts
- Irving Park: Larger kitchens suited for islands or open-concept redesigns
- Lindley Park & Sunset Hills: Often feature mid-century layouts needing flow updates
🔎 Knowing your neighborhood helps tailor your kitchen to fit both style and structure—while staying on the right side of the law.
✅ Step-by-Step Kitchen Layout Planning
Nailing your kitchen layout isn’t just about good looks—it’s about function, flow, and making every square inch work smarter. Here’s how to plan it right from the start:
1. 🧠 Assess How You Use Your Kitchen
- Cooking daily or occasionally?
- One cook or a crowd?
- Do you entertain, multitask, or need kid-friendly zones?
2. 📏 Measure & Map Your Space
- Get accurate wall-to-wall measurements
- Note doors, windows, ceiling height, outlets, and plumbing points
- Identify fixed limitations (load-bearing walls, HVAC, etc.)
3. ✏️ Sketch Layout Options
- Try different configurations: L-shape, island, galley, etc.
- Use 2D drawings or apps like RoomSketcher or SketchUp
- Factor in appliances and furniture
4. ✔️ Test for Flow & Function
- Check work triangle or zone efficiency
- Validate storage access, aisle width, and lighting coverage
- Think of ease, comfort, and long-term usability
5. 💵 Align with Budget & Timeline
- Price out materials, labor, permits, and contingencies
- Review how layout changes may affect plumbing/electrical costs
- Match plan with your project timeline
6. 🛠️ Finalize, Permit & Build
- Confirm everything complies with Greensboro building codes
- Get contractor estimates and lock in your schedule
- Finalize drawings and begin the transformation
📌 Smart planning upfront saves stress, money, and mid-reno regrets later.
🚀 Ready to Design Your Dream Kitchen?
Start your layout journey today—schedule a free consultation with our Greensboro-based experts. We’ll help you map out a kitchen that flows beautifully, fits your lifestyle, and adds serious value to your home.
📞 Call now at (336) 860‑7666 or book online to get started.